Manual Darning
Used for darning holes or worn areas in all fabric types.
- Remove the presser foot holder and fit the darning/embroidery foot on the presser foot bar.
- The lever (1) must rest on the top of the needle clamping screw (2).
- Press the darning/embroidery foot from underneath with your finger and tighten the screw (3).

- Turn the stitch pattern selector knob to A.
- Set the stitch length to 0.
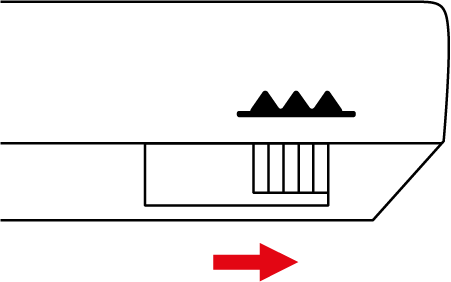
- Lower the feed dog.
- Attach the Slide-on Freearm Extension Table.
- Lower the feed dog.

- Tension the sewing project in a darning hoop.
- The darning area remains evenly stretched and cannot be deformed.
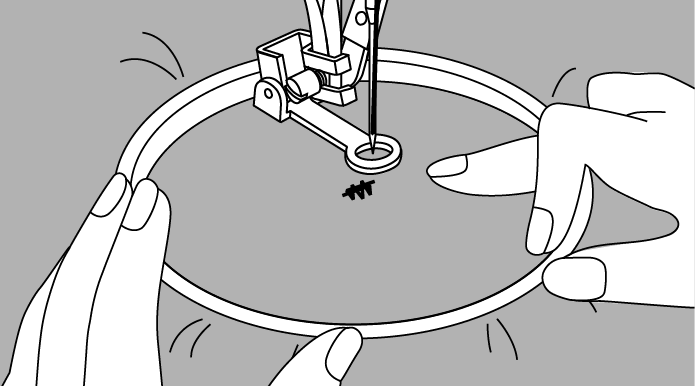
- Turn the handwheel anti-clockwise to bring up the bobbin thread.
- Sew a few stitches at the start of the seam.
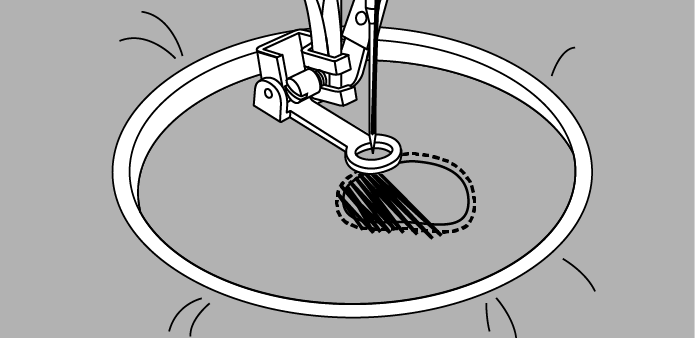
- Sew from the left to the right, guide the fabric evenly by hand without using pressure.
- If the thread is lying on the top, continue sewing at a slower pace.
- If knots form on the wrong side of the fabric, sew faster.
- If the thread breaks, continue sewing at a more even pace.
- Move in curves when changing the direction to avoid holes and thread breakage.
- After you have finished darning, raise the presser foot and restart the feed dog.