Sewing a Buttonhole Automatically
- Fit the buttonhole foot with slide.
- Pull out the button holder plate and insert the button.
- Push the button holder plate backwards until it meets the button.
- The length of the buttonhole is determined.
- Guide the thread through the hole in the presser foot and then position it under the presser foot.
- Turn the stitch pattern selector knob to the single-step buttonhole setting.
- Set the stitch width to 4 – 6.
- Set the required stitch length in the buttonhole symbol range on the dial.
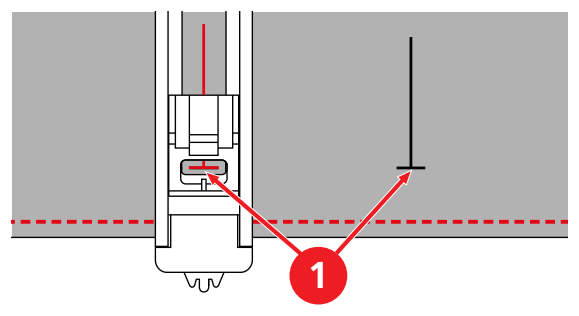
- Position the fabric under the presser foot so that marking of the centerline is aligned with the starting point (1).
- Press the buttonhole lever all the way down and press it backwards slightly until it clicks in position.
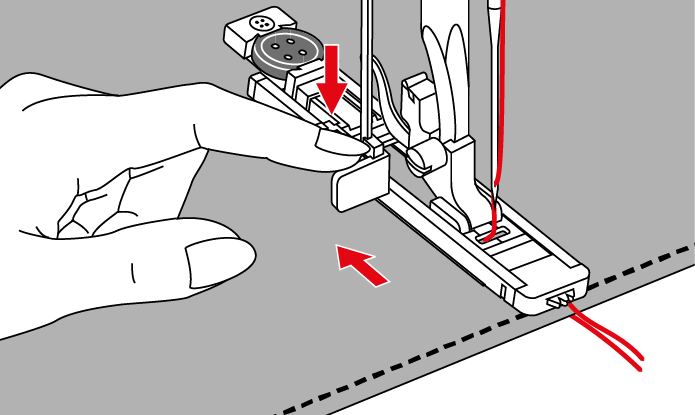
- Hold the upper thread perpendicular to the buttonhole foot with slide.
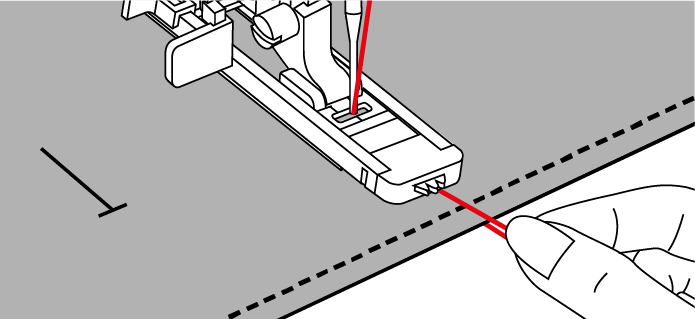
- Use the foot control to start sewing.
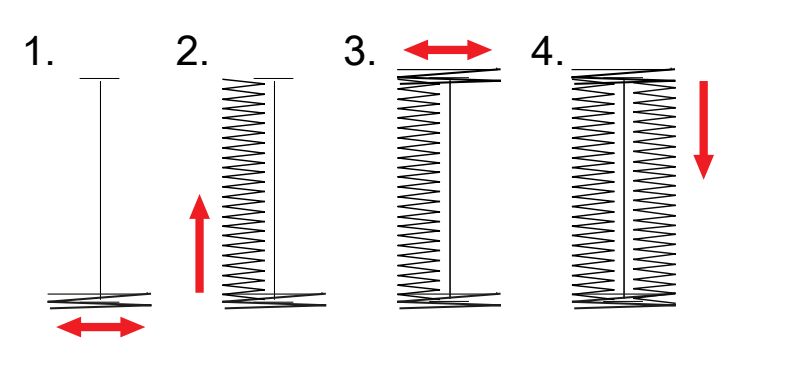
- The buttonhole is sewn from the front of the presser foot to the back.
- At the end of the buttonhole, where the bead meets the bar, stop the machine.
- Raise the presser foot, remove the fabric and cut the thread.
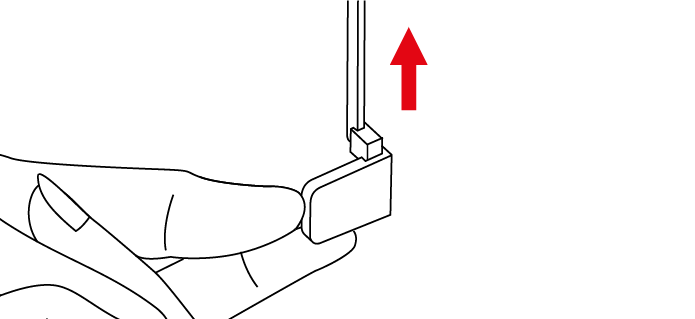
- Pull the upper thread downwards and tie it in a knot.
- If you must interrupt sewing a buttonhole, pull the buttonhole lever forwards and sew 2–3 stitches until the mechanism has switched over.
- To sew another buttonhole, push the buttonhole lever backwards.
- After sewing the last buttonhole, lift the buttonhole lever as far as it will go.