Preparing the Embroidery Hoop
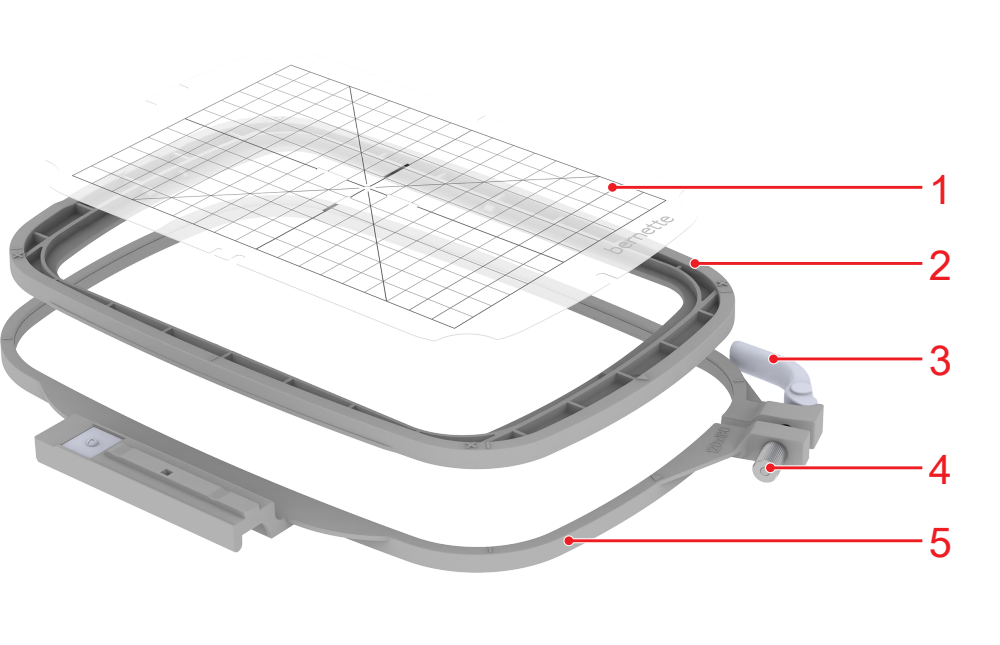
1 | Embroidery Template | 2 | Inner Ring |
3 | Quick-Release Mechanism | 4 | Adjusting Screw |
5 | Outer Ring |
There is a corresponding template for every hoop. The embroidery area is rasterized with 1 cm (0.39 in) squares. The center is marked with hole and cross lines. The required marks can be transferred to the material.
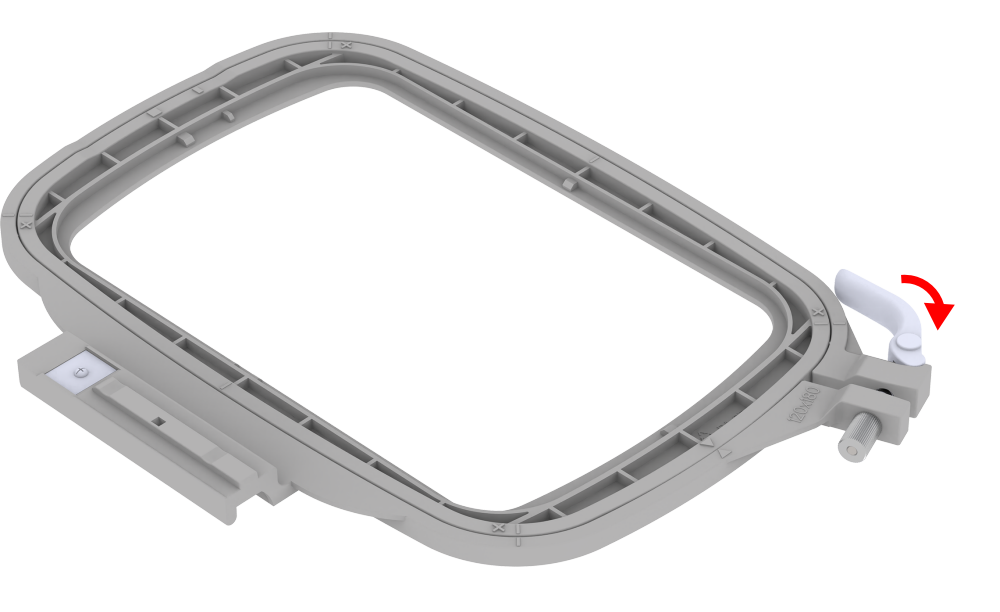
- Open the quick-release mechanism on the outer ring.
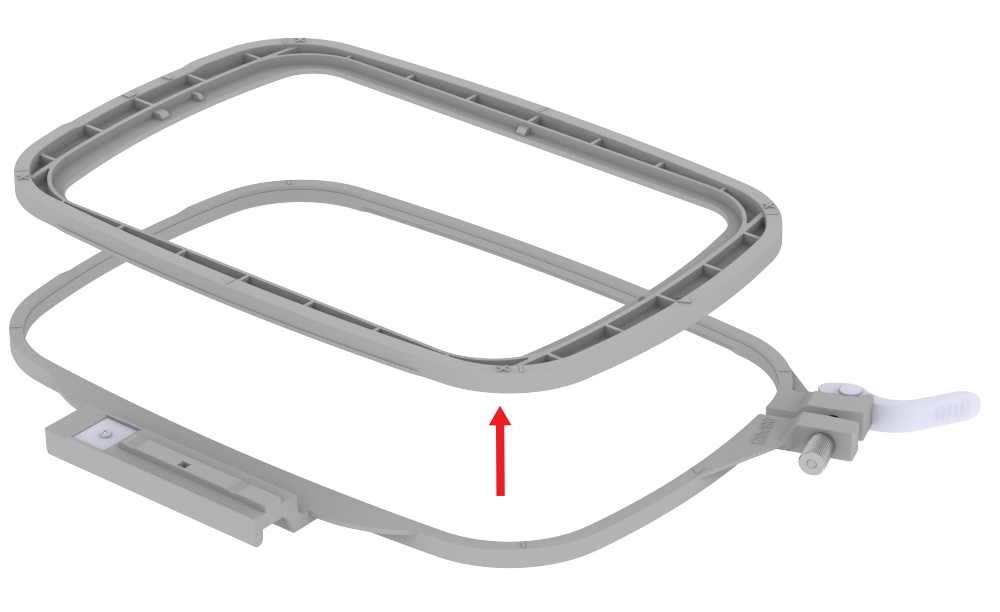
- Remove the inner ring.
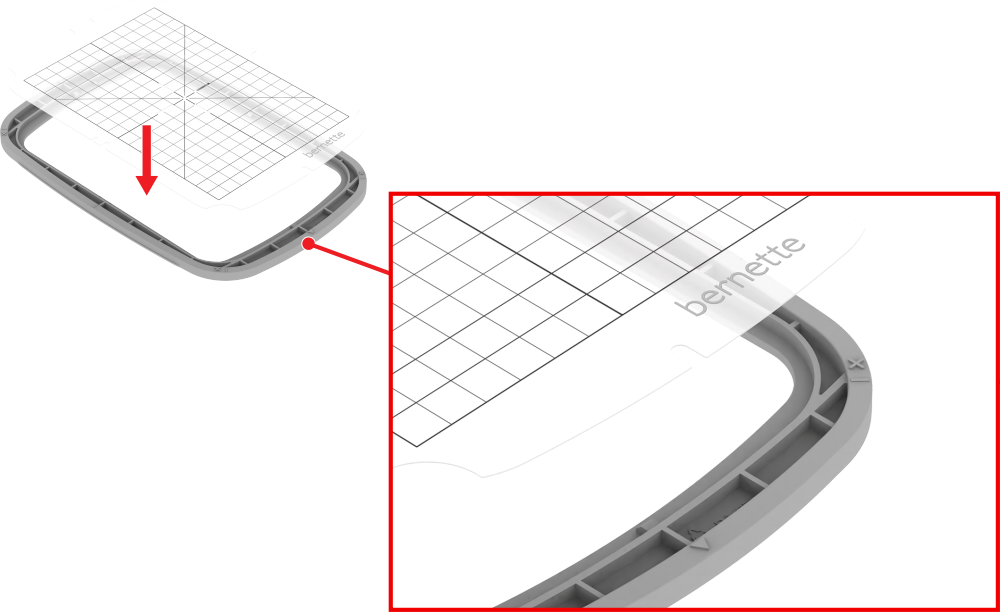
- Place the embroidery template in the inner ring so that the “bernette” logo is on the right side.
- The embroidery template snaps into place in the inner ring.
- Place the inner ring on the fabric so that at least 2 cm of fabric extends beyond the inner ring on all sides.
- Align the center of the embroidery design with the center of the template.
- Place the fabric and the inner ring into the outer ring so that the arrow markings on the two hoops line up.
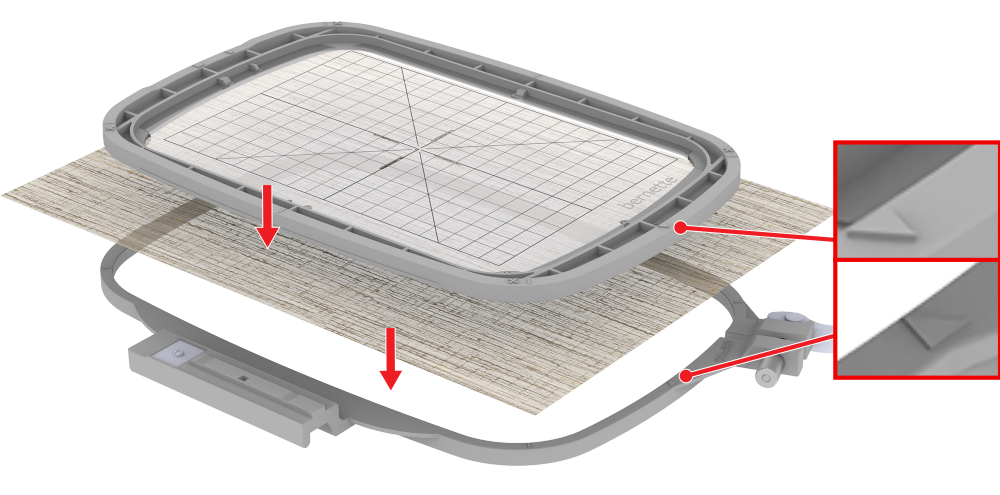
- Slide the two rings into each other so that the fabric does not shift. The inner ring should extend approx. 1 mm below the bottom edge; this prevents the embroidery hoop from touching the stitch plate.
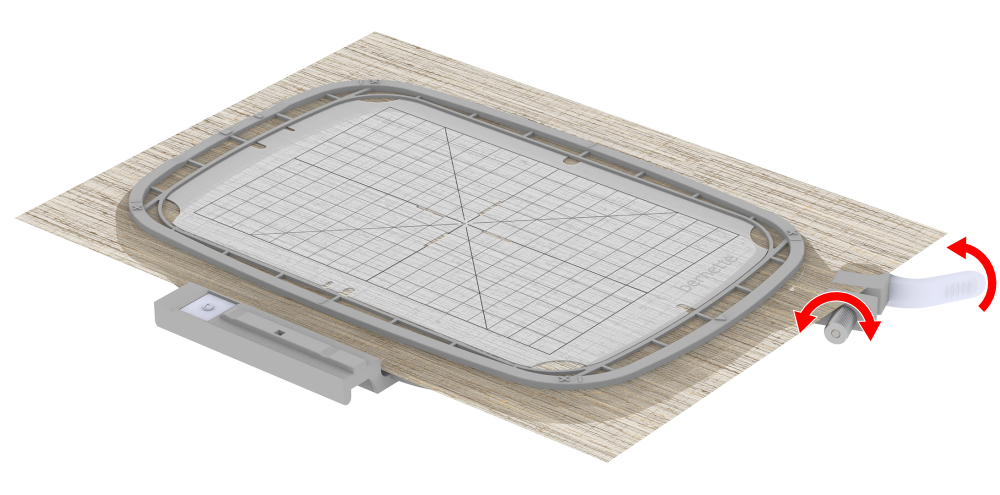
- Hoop the fabric in the embroidery hoop and pull it tight.
- Close the quick-release mechanism. If a new type of material is used, adjust the pressure by turning the adjusting screw.
- Remove the embroidery template from the embroidery hoop.