Overview Front Controls
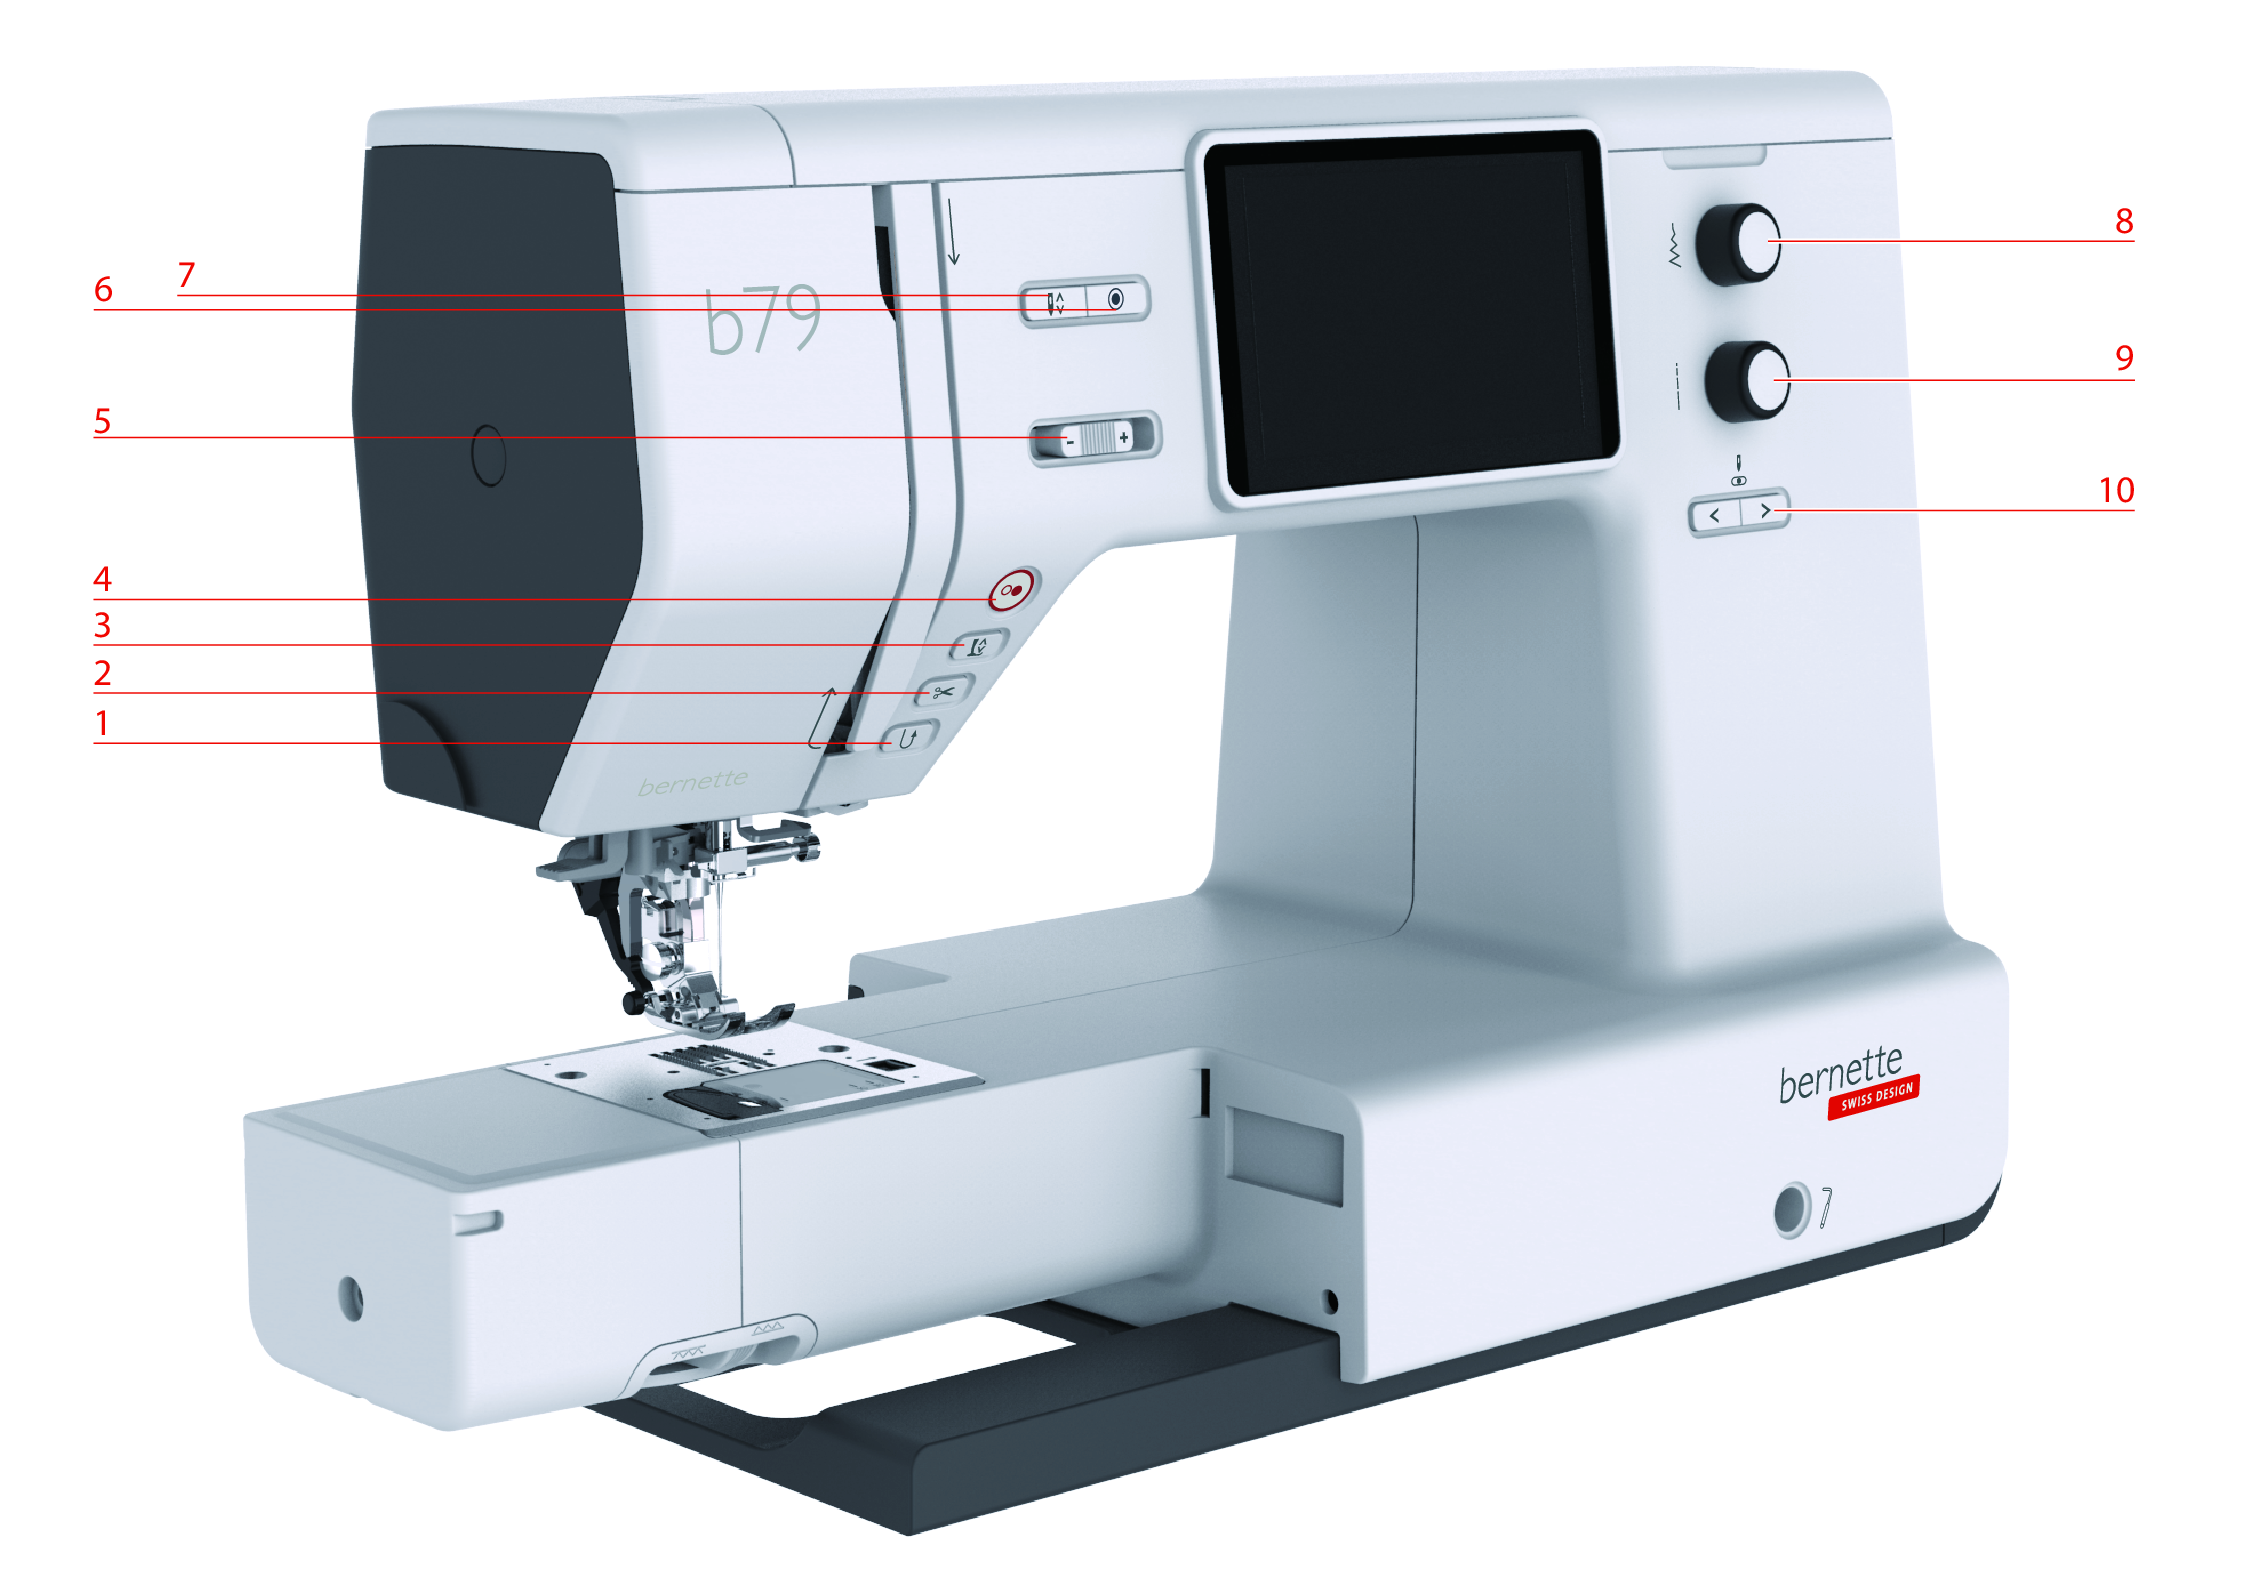
1 | Quick Reverse | 6 | Securing |
2 | Thread Cutter | 7 | Needle Up/Down |
3 | Presser Foot Up/Down | 8 | Upper Multi-function Knob |
4 | Start/Stop | 9 | Lower Multi-function Knob |
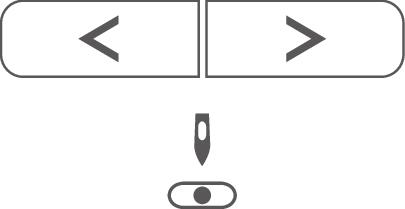
5 | Speed Control | 10 | Needle Left/Right |
Controls
Number | Operating Component | Name | Purpose |
|---|---|---|---|
1 |
| Quick Reverse |
The Quick Reverse button does not work for stitch patterns 22–24 and for buttonhole patterns 51–71. |
2 |
| Thread Cutter |
2-6 securing stitches can be programmed in the Setup Program. They are sewn before the thread is cut. |
3 |
| Presser Foot Up/Down |
|
4 |
| Start/Stop | The button «Start/Stop» serves the purpose to change the presser foot position and to start the machine.
Sewing Mode
Embroidery Mode
|
5 |
| Speed Control | The sewing speed can be adjusted infinitely variable with the slide.
|
6 |
| Securing | The function Securing at Sewing Start is activated in the Setup by default and can be deactivated by pressing the button Securing. When the function Securing at Sewing Start is not activated in the Setup, it can be programmed by pressing the button Securing. A securing icon which appears on the display during sewing indicates that the function is activated. The number of securing stitches can be programmed in the Setup Program.
|
7 |
| Needle Up/Down |
|
8 |
| Upper Multi-function Knob | With the Upper Multi-function Knob setting values can be changed in the sewing, the embroidering and the Setup Program. |
9 |
| Lower Multi-function Knob | With the Lower Multi-function Knob setting values can be changed in the sewing, the embroidering and the Setup Program. |
10 |
| Needle Left/Right | There is a total of 15 needle positions. The needle position is indicated by the needle position number in the display.
|