Reinforced Darning, Automatic
The simple Darning Program No. 22 is especially suitable for quick darning of worn or damaged areas. It is recommended to use fine material as a backing for the worn and damaged areas or to stick an adhesive interlining. The simple Darning Program No. 22 replaces threads along the lengthwise grain in all materials. If the darning area becomes distorted, correct with the balance.
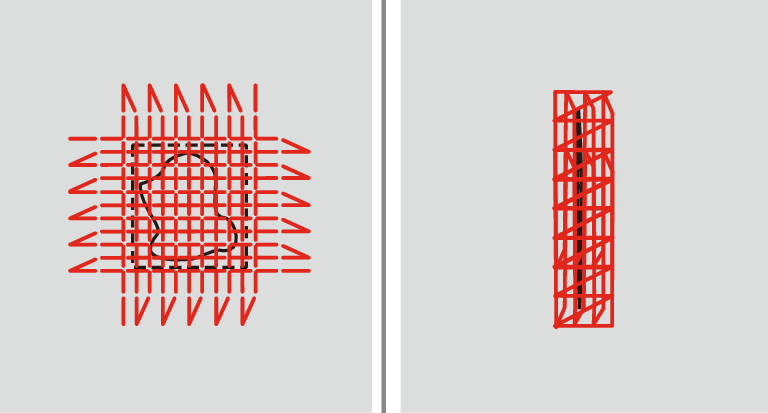
The reinforced Darning Program No. 23 is especially suitable for quick darning of thin areas or snags. The reinforced Darning Program No. 23 replaces threads along the lengthwise or transverse grain in all materials.
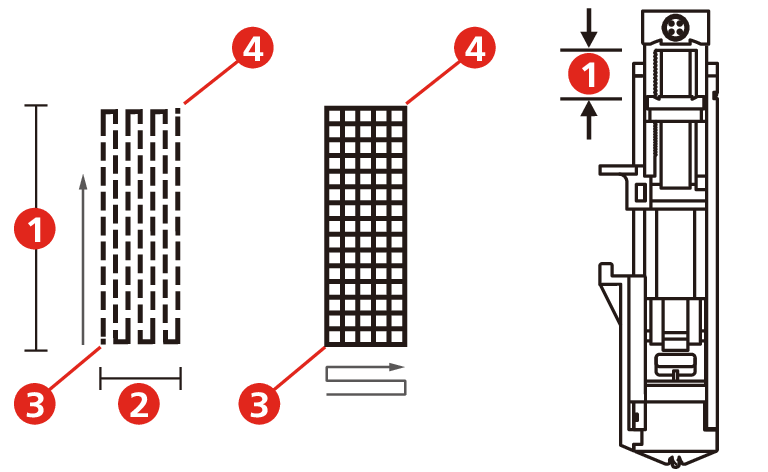
1 | The Length of Sewing | 3 | Start |
2 | The Width of Sewing | 4 | Stop |
- The underlay material is fixed with basting stitches.
Prerequisite:
- Attach the Buttonhole Foot with Slide (RJ).

- Tap Practical Stitches.
- Select the reinforced Darning Program No. 23.
- Lower the presser foot over the center of the tear.
- Adjust the button holder on the buttonhole foot to the desired length. The size of one darning sequence is variable.
- The maximum sewing length is 2.6 cm (1 in), and the maximum sewing width is 7 mm (9/32 in).
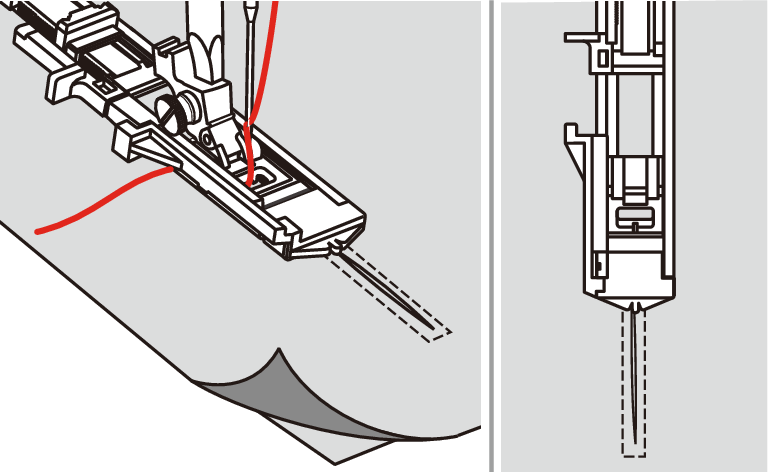
- Position the fabric so that the needle is 2 mm (1/16 in) n front of the area to be darned.
- Lower the presser foot.
Tip
When lowering the presser foot, do not push the front of the presser foot, otherwise the darning will not be sewn in the correct size.
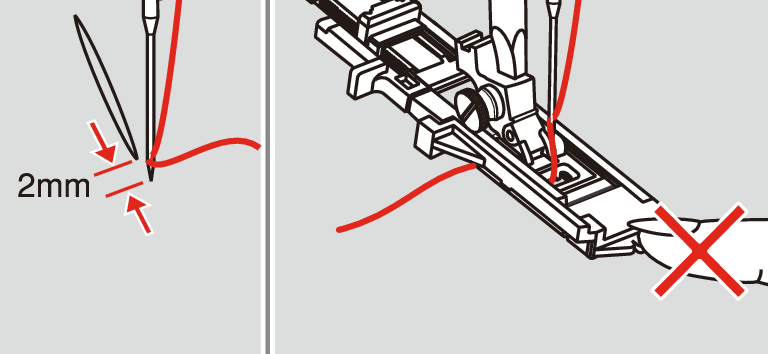
- Lead the upper thread down through the hole in the presser foot.
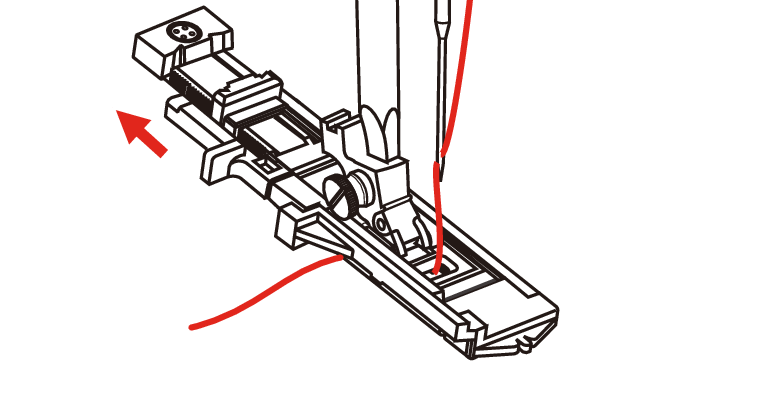
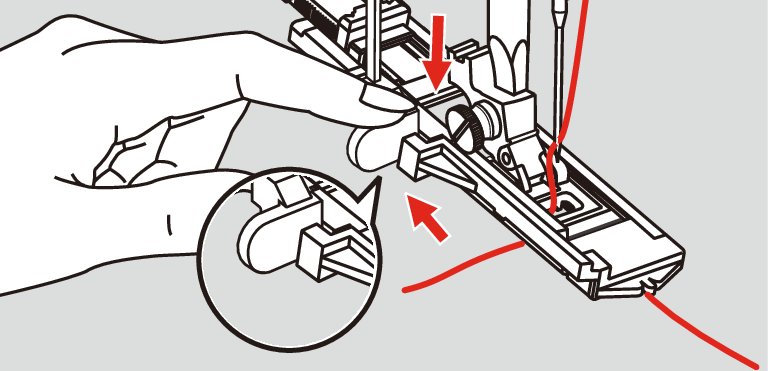
- Pull down the buttonhole lever as far as possible.
- The buttonhole lever is positioned behind the bracket on the buttonhole foot.
- Hold the upper thread to the left side vertically to the Buttonhole Foot with Slide and start sewing.
- If the sewing range is too big to sew, then we recommend to sew the area several times (or cross sew) to get better sewing result.