Preparing the Embroidery Hoop
The embroidery hoop consists of an outer and an inner hoop. There is a corresponding template for every hoop. The embroidery area is rasterized with 1 cm (0.39 in) squares. The center is marked with hole and cross lines. The required marks can be transferred to the material.
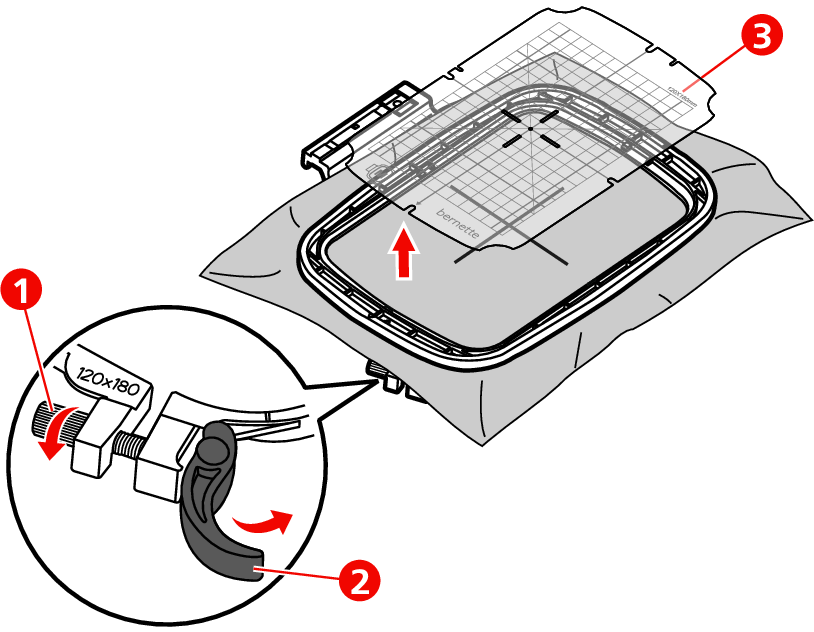
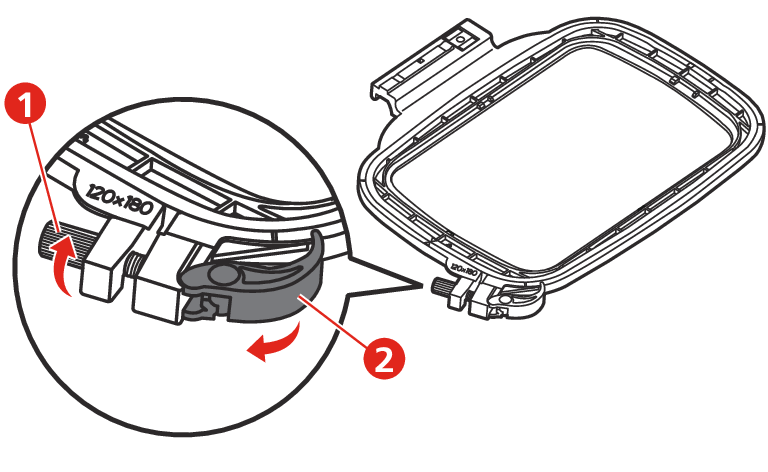
- Loosen the screw (1) or open the quick release device (2) on the outer hoop.
- If a new type of fabric is used, the pressure must be adjusted by turning the screw.
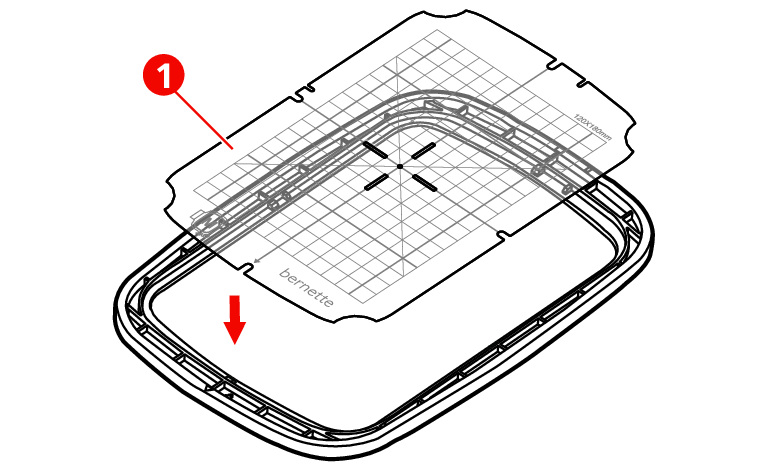
- Remove the inner hoop.
- Place the template (1) in the inner hoop so that the bernette logo is aligned with the arrow marking at the front edge so that it clicks into place.
- Place fabric under the inner frame so that it is at least 2 cm above the hoop.
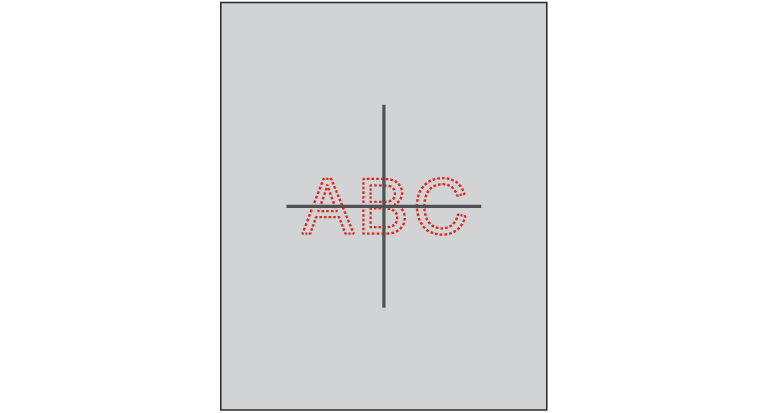
- Align the center of the embroidery design with the center of the template.
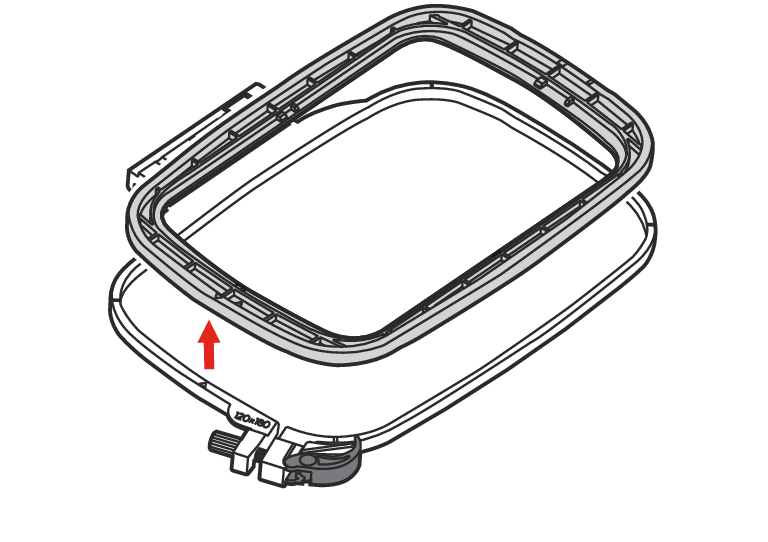
- Place the material and the inner hoop on the outer hoop so that the arrow markings of both hoops are aligned.
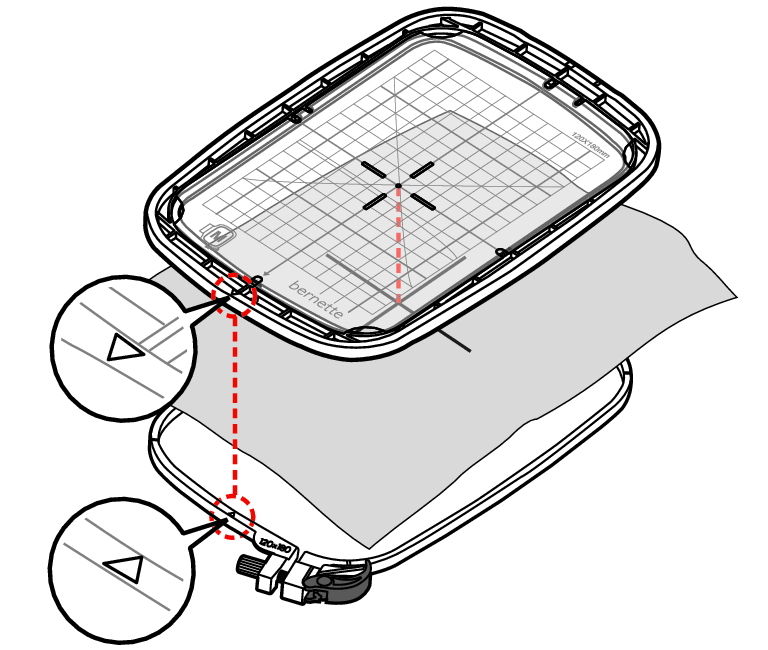
- Fit the hoops into each other so that the material does not move.
- Hoop the fabric tautly in the embroidery hoop.
- Close the quick release device (2). If necessary, tighten screw (1).
- The inner hoop should protrude about 1 mm on the underside, this prevents the hoop from sticking to the stitch plate.
- The quick release device (2) is for changing the same type (thickness) fabric easily and quickly.
- Remove the template (3) from the hoop.